How to Build a Dynamic Ambient Loop in Bitwig with Free Surge XT, Arps and Sidechain
Chords from Ether Harmony, every sound from free Surge XT, two arpeggiated sequences, a kick that doesn't always land, and one sidechain that makes the whole loop breathe.
A pad, a drone and a chord progression make a nice sound. They don't make a loop that moves. What makes an ambient loop feel alive is the stuff happening underneath: a sequence that never quite repeats, a kick that doesn't always land, and the whole mix breathing in and out a little every time the kick hits.
This is the written companion to my latest video. We build a dynamic ambient loop in Bitwig Studio from scratch, using the free Surge XT synth for every instrument, two of my free arpeggiator presets for the sequences, and one top loop for the rhythm. Every step is here in order, so you can follow along without pausing the video every ten seconds.
What you need: Bitwig Studio, Surge XT (free), Raum (free reverb from Native Instruments) and the Etherloops sounds linked at the end of this post.
1. Generate the musical material in Ether Harmony
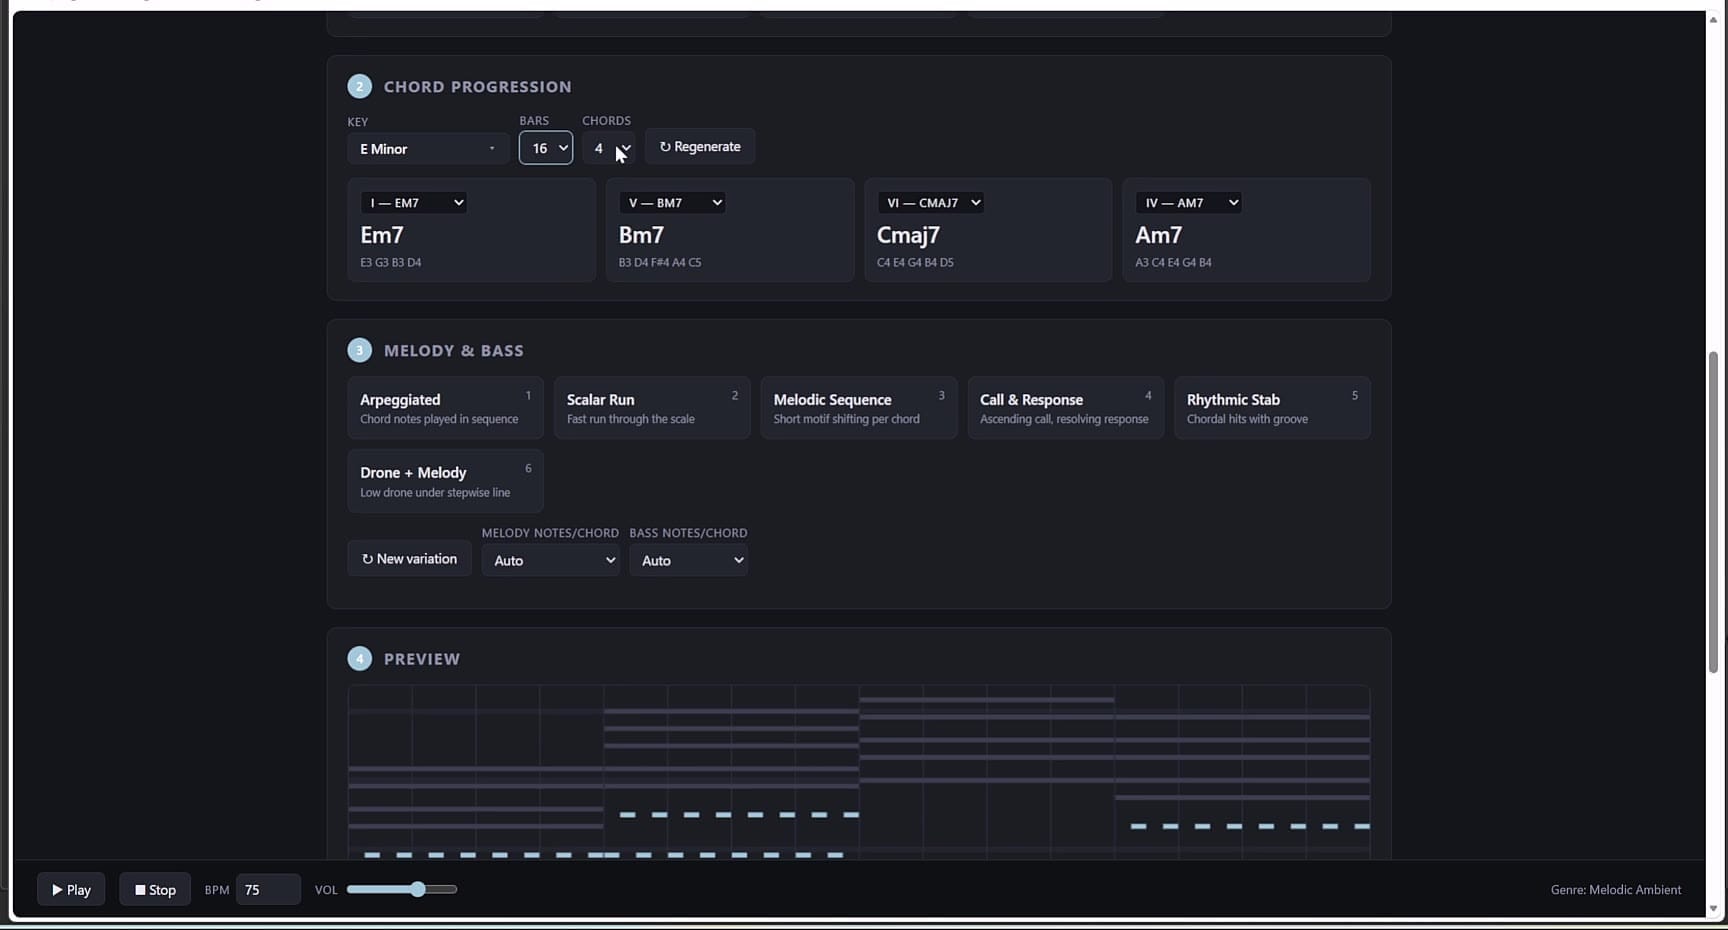
I don't start in Bitwig. I start in Ether Harmony, a browser app that generates chord progressions, bass lines, occasional melodies and even a basic arrangement. (I wrote more about why a solid starting point like this matters.)
- Pick the genre first.
- In the chord progression section, set the key to E minor and make it a 16-bar loop with four chords.
- Keep the bass simple: one note per chord.
- Press Re-generate as many times as you like until a progression grabs you.
- In the Export section, export just the chords MIDI and the bass MIDI.
That's the whole harmonic foundation, done before the DAW is even open.
2. Bring the MIDI into Bitwig
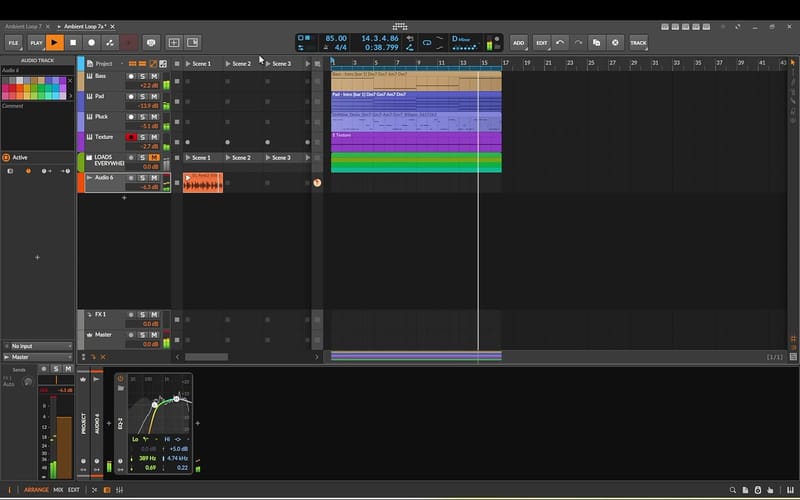
Open your Downloads folder in Bitwig's browser, refresh it so the new files show up, and drag both MIDI files straight onto the timeline. Then set the project key to E minor so everything downstream knows where it lives.
Turn the chords into inversions
Open the chords clip and select every note sitting up in octave four. Press Shift + Down arrow to drop them an octave. The chords become inversions, the voicings sit closer together, and the progression flows from one chord to the next instead of jumping around.
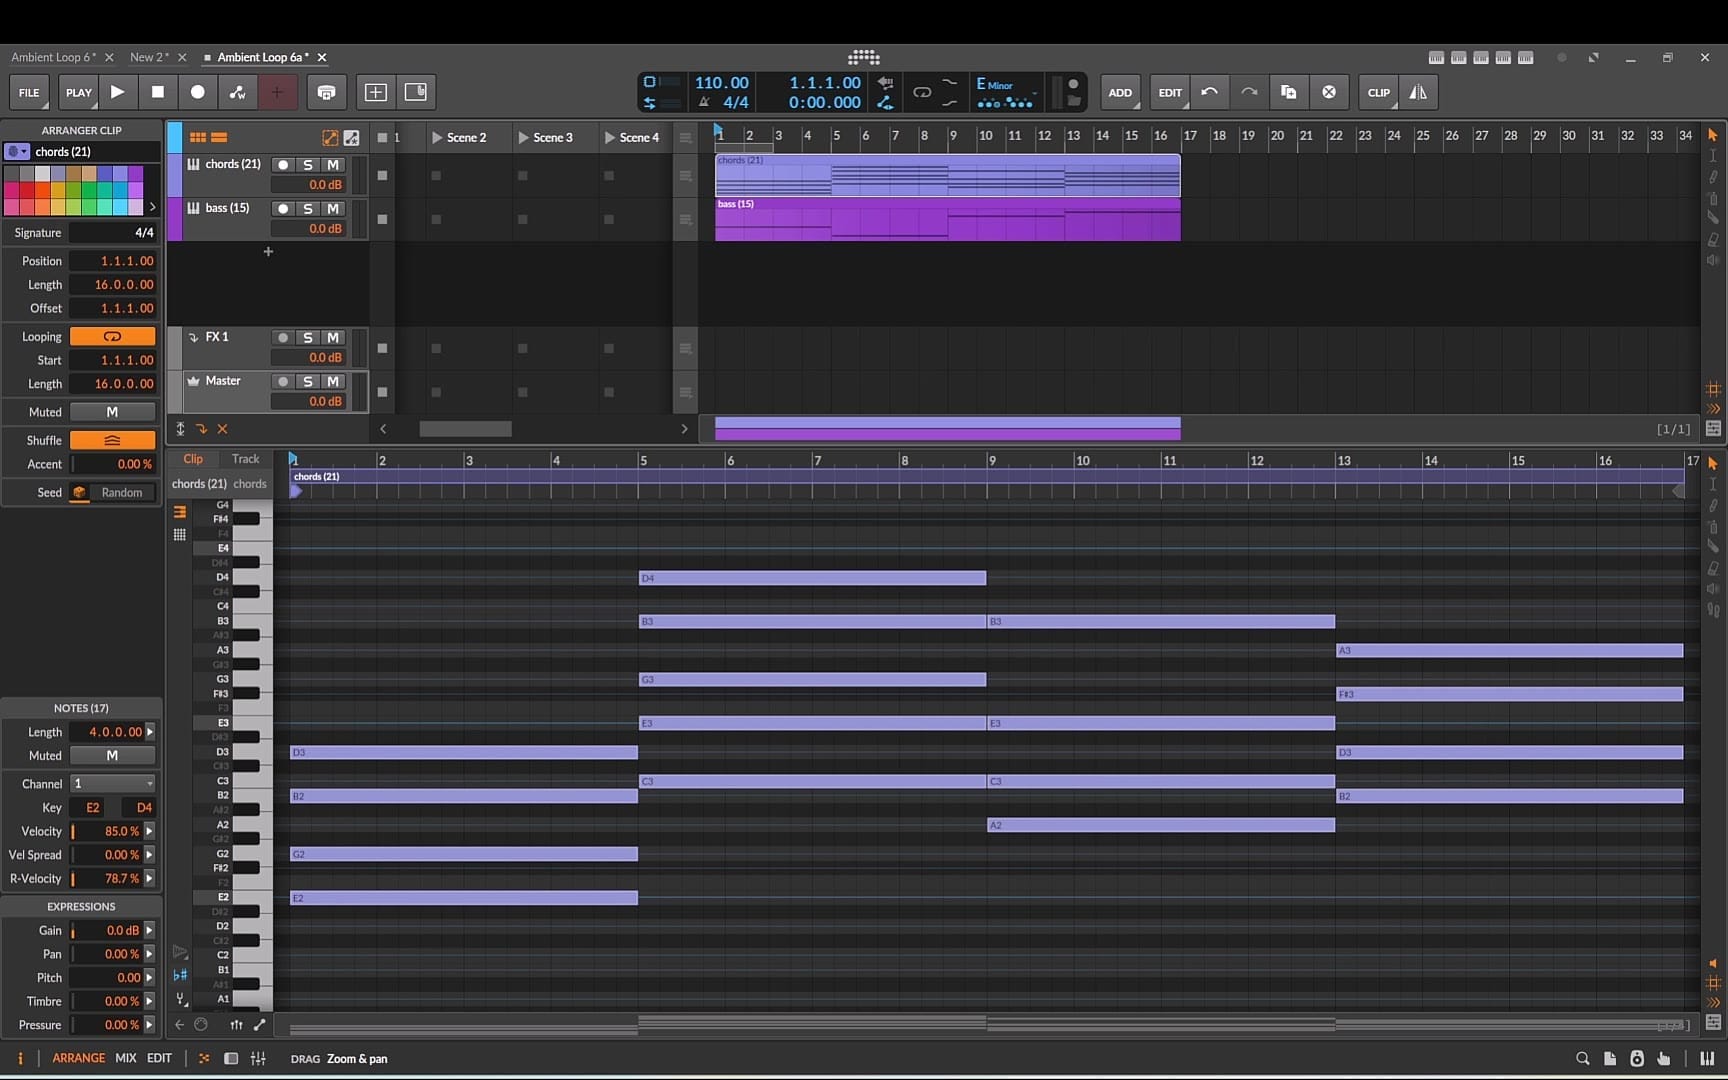
Delete the default instruments from both tracks and rename them: the first becomes Pad, the second becomes Drone.
3. The pad and the drone
Pad
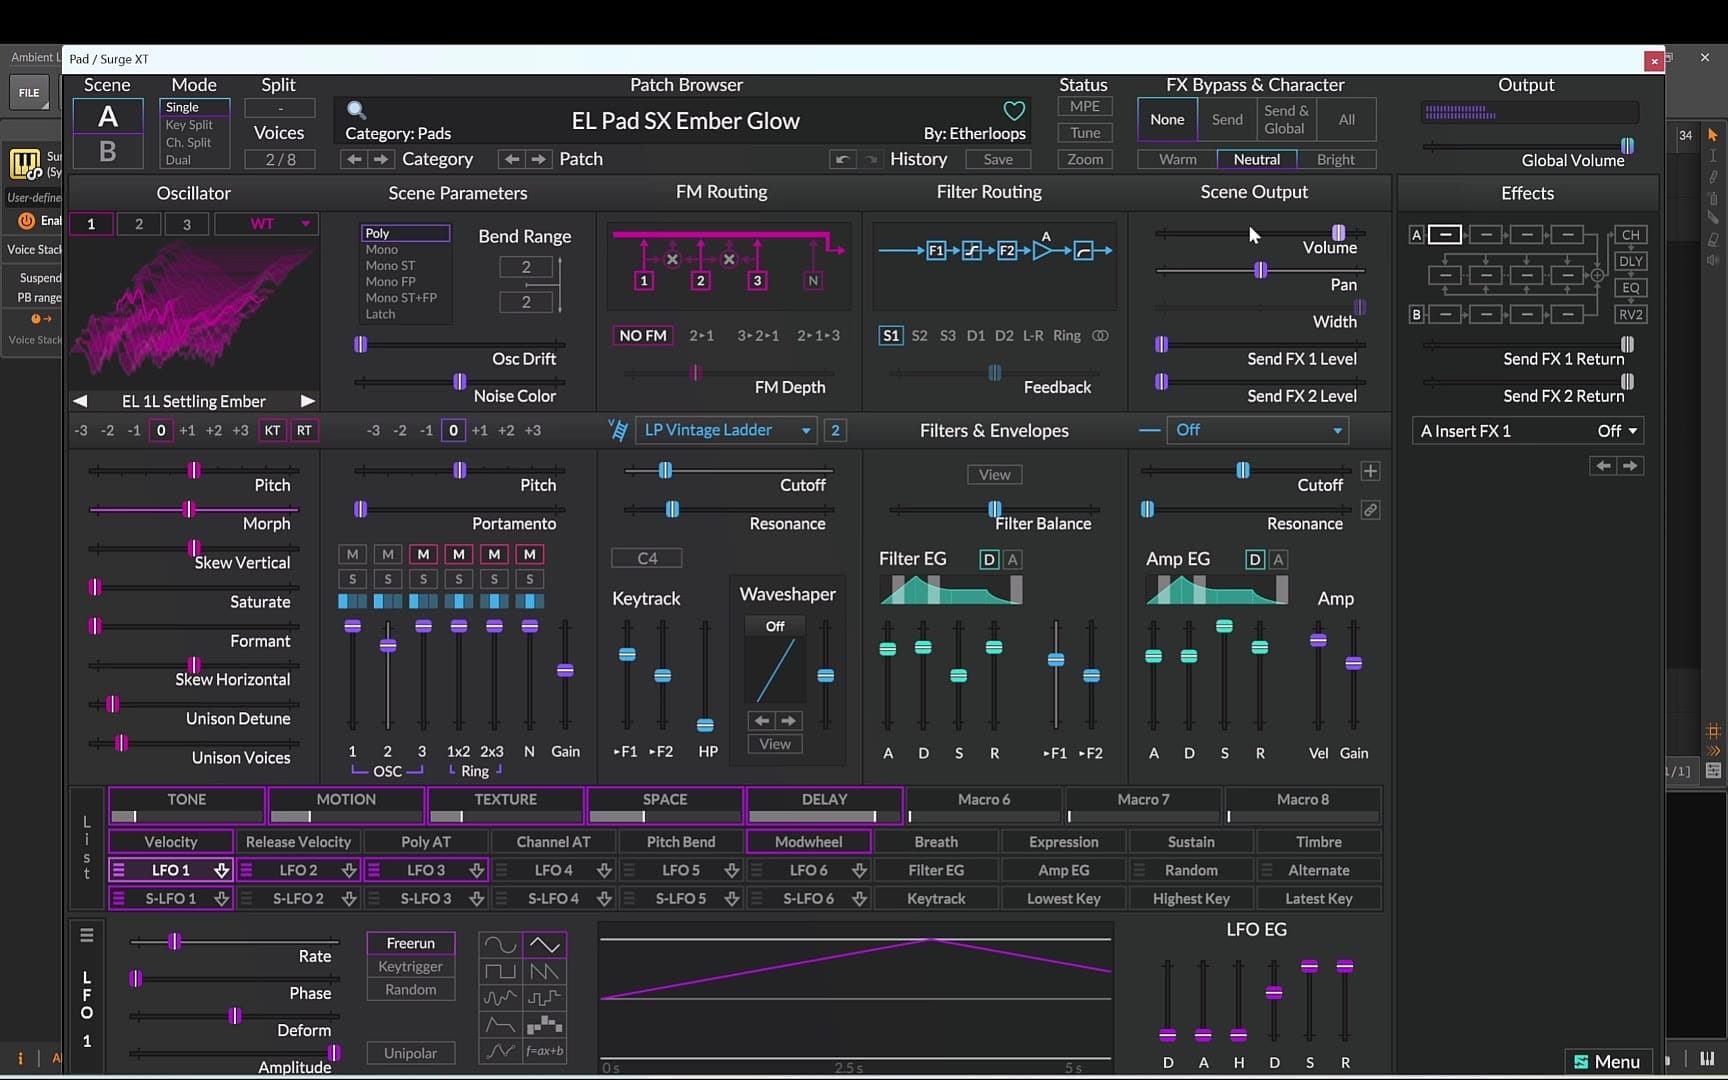
Load Surge XT on the Pad track, pick a pad preset and nudge the macros until it sits right. If you'd rather design your own, here's how to build a lush ambient pad in Surge XT step by step. Play the full progression through once before moving on, it's the bed for everything else.
Drone
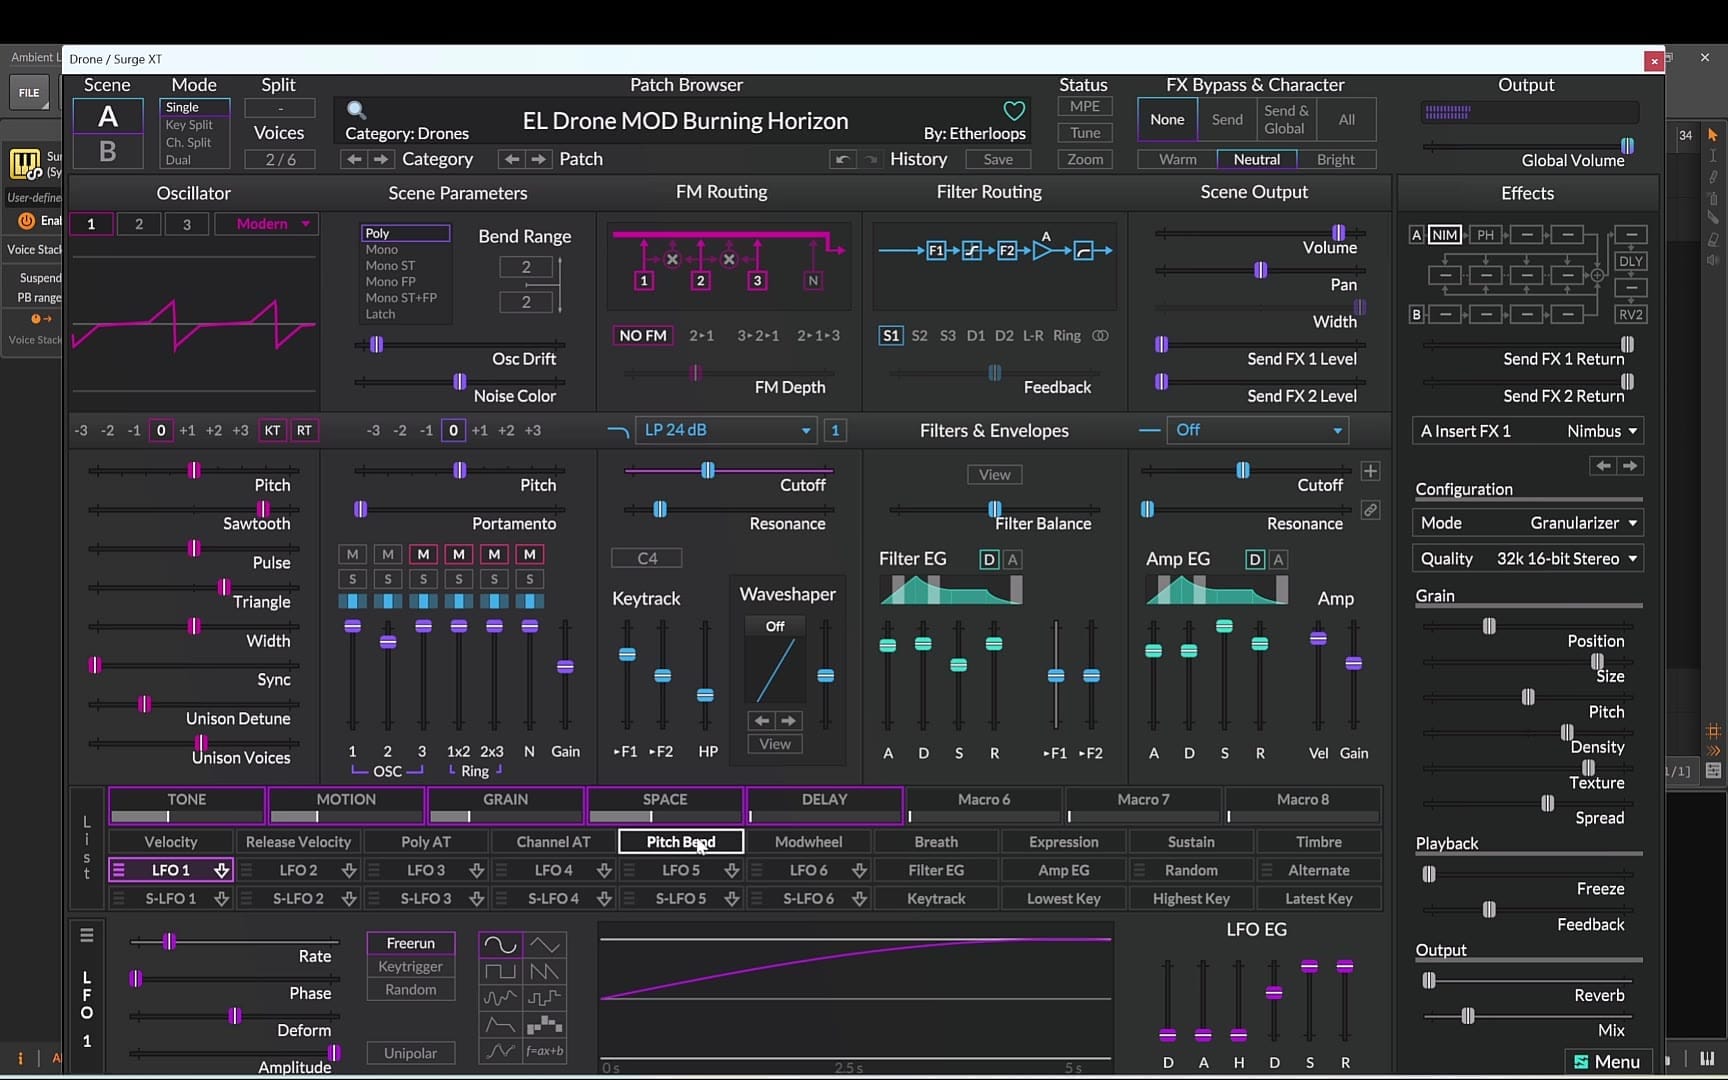
Another instance of Surge XT on the Drone track, this time with a drone from Engines. That library is built mainly around modern waveforms and FM generators, which is exactly what you want for deep, slowly evolving textures. Tweak the macros, then play it against the pad to check the two blend rather than fight.
4. The melodic sequence (ArpSeq)
Here's where the loop starts to move.
- Drag the chord clip from the Pad track onto a new track and name it ArpSeq.
- Load Surge XT with a pluck from Engines and dial in the tone with the macros.
- Add Bitwig's Arpeggiator before Surge XT in the device chain.
- Instead of programming a pattern, drag one of the ArpSeq BW free presets straight onto the Arpeggiator.
- Add a Key Filter note effect between the Arpeggiator and Surge XT and set it to E minor, so every note stays in key no matter what the arp does.
- Add a delay for space and depth, then Raum for reverb.
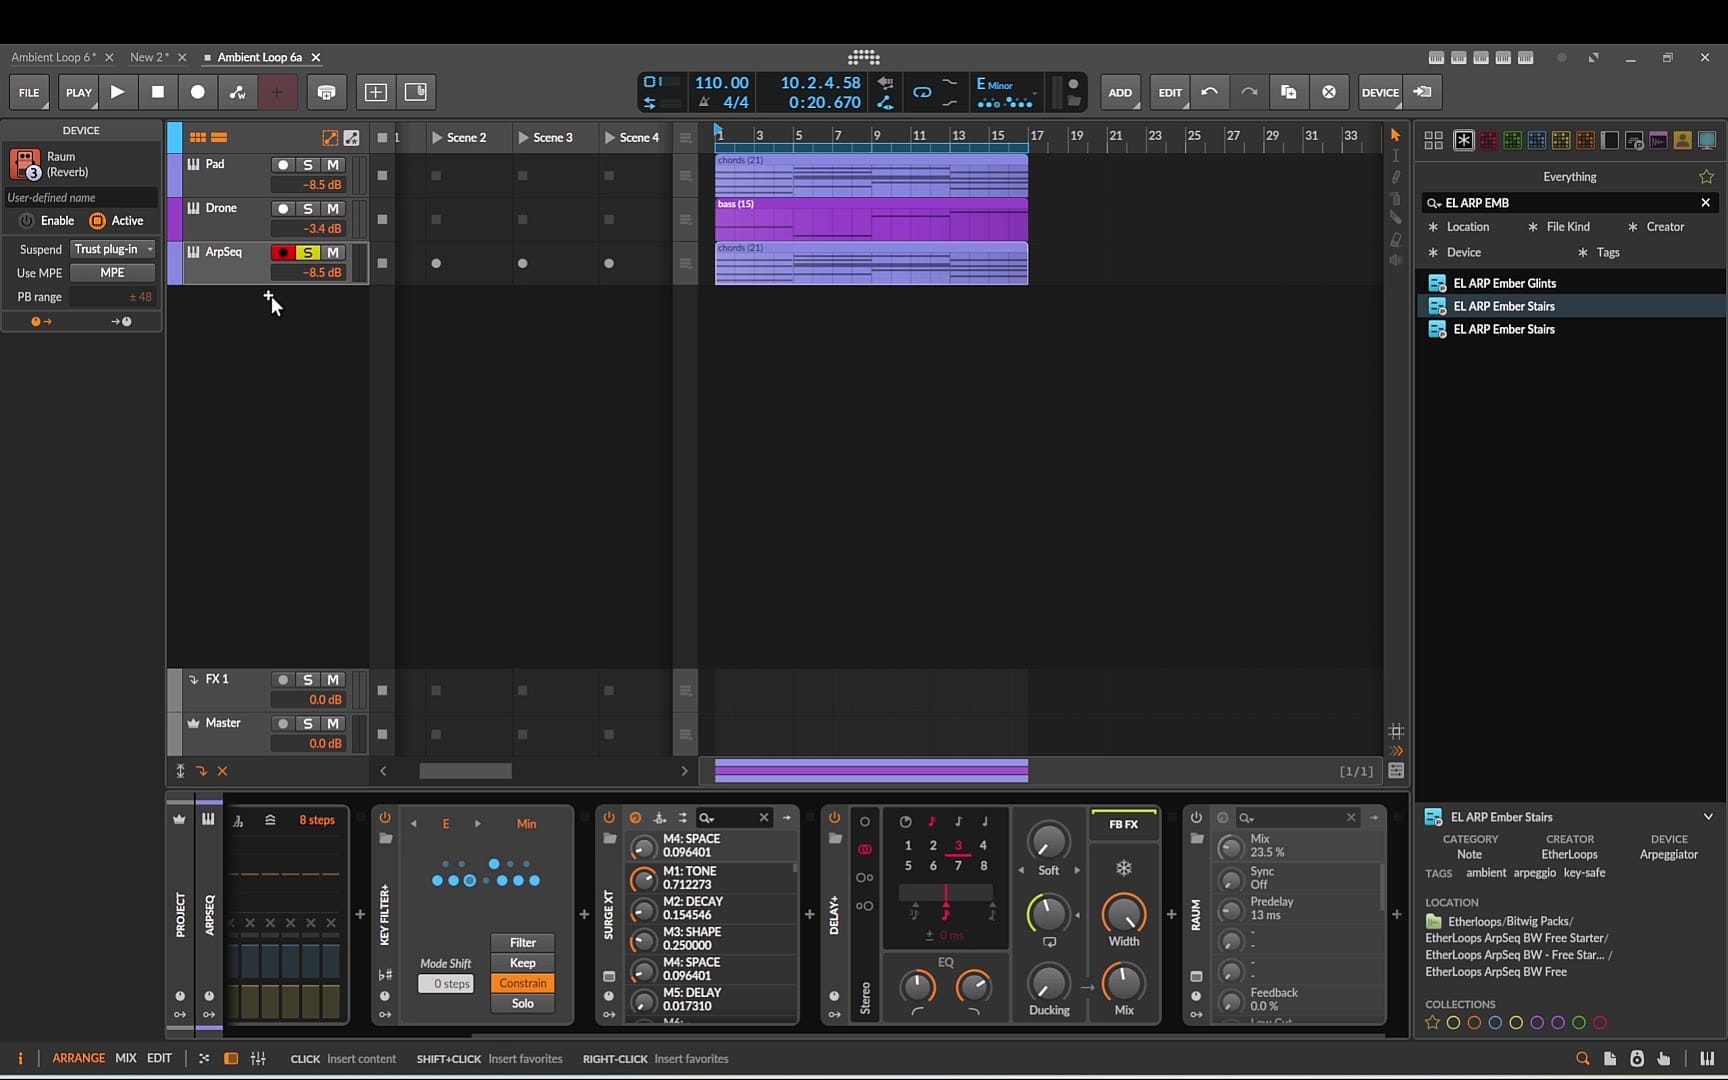
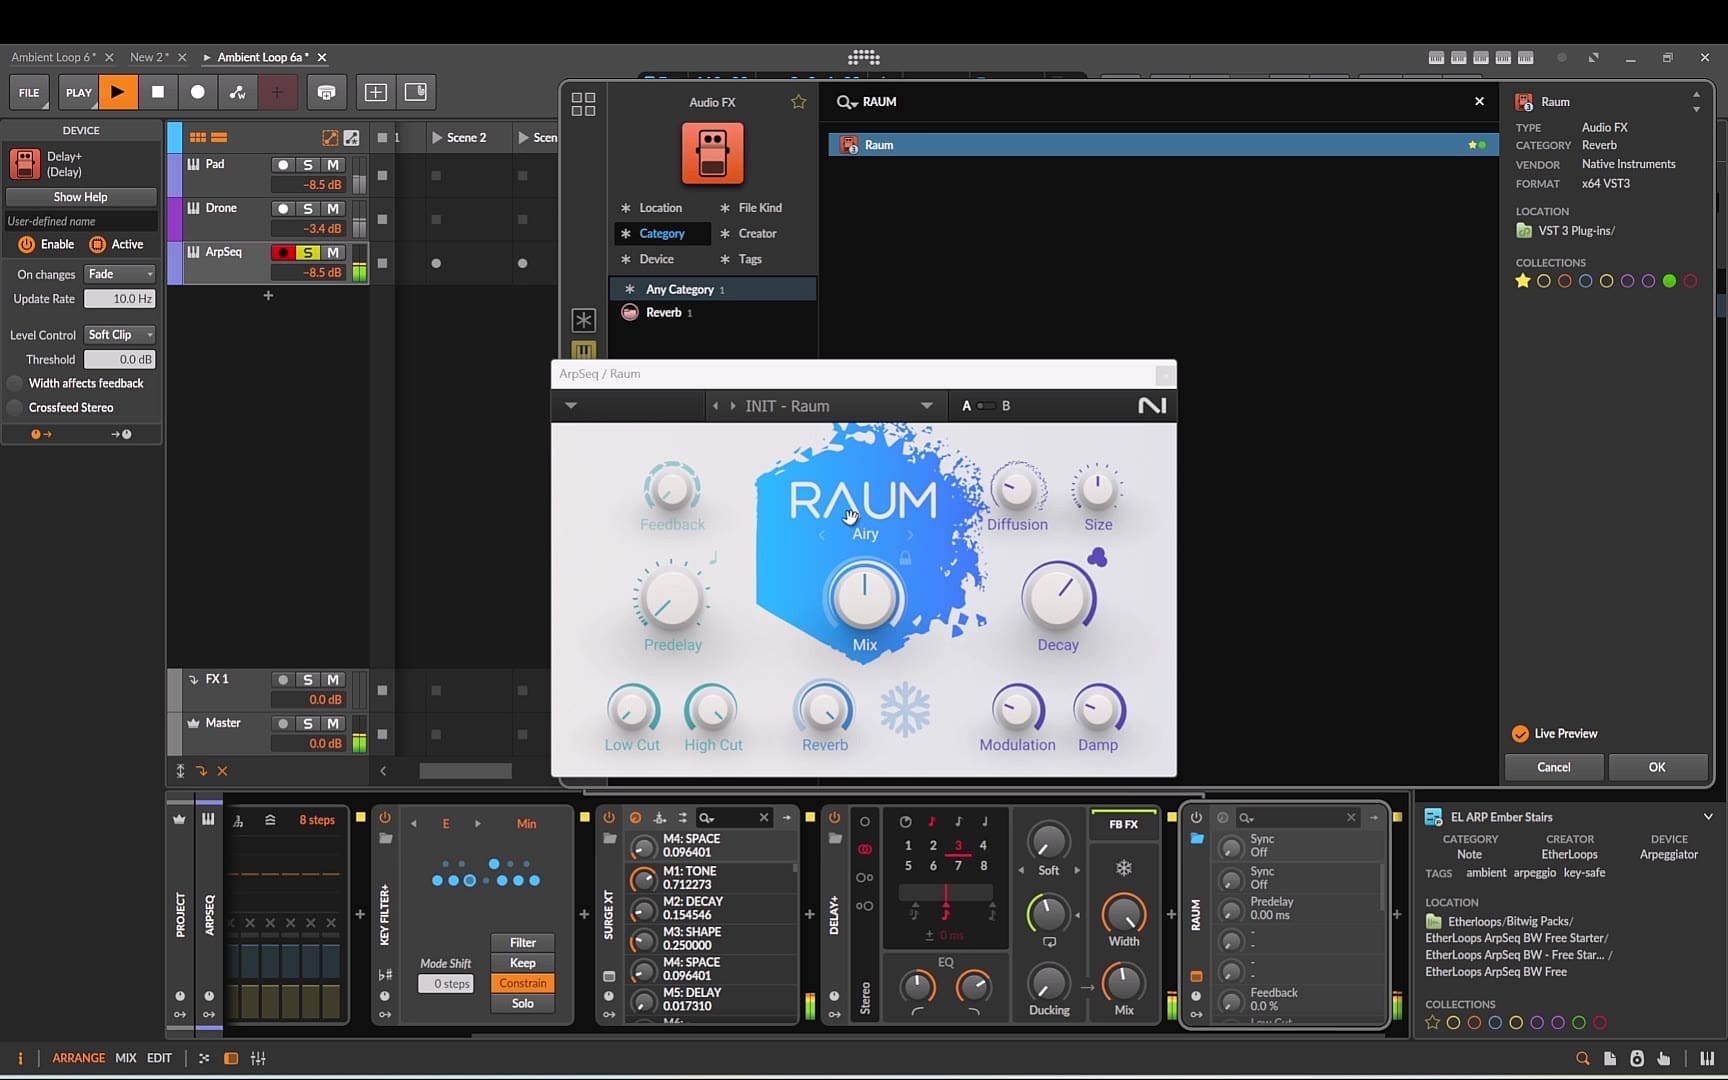
Later in the build I came back and shortened the decay on this pluck to make it tighter and more defined. If yours sounds smeary once everything else is playing, that's the first knob to reach for.
5. The bass sequence (Arp Bass)
Same idea, lower register. Copy the bass clip onto a new track and name it Arp Bass.
- Surge XT with a bass preset, macros tweaked.
- Arpeggiator before Surge XT, loaded with a bass-sequence pattern from the free arp preset library.
- Key Filter set to E minor, just like before.
- An EQ to bring out the low end a little more.
Two arpeggiated parts from two plain clips: the melody and the bass now move against each other without you drawing a single extra note.
6. The rhythm section
A kick that doesn't always land
New track, V1 Kick, adjust Decay and Tune until it feels right. Draw a very simple pattern, then set the probability of the last note below 100%. It won't hit every time, and that one small bit of randomness keeps the loop from sounding mechanical.
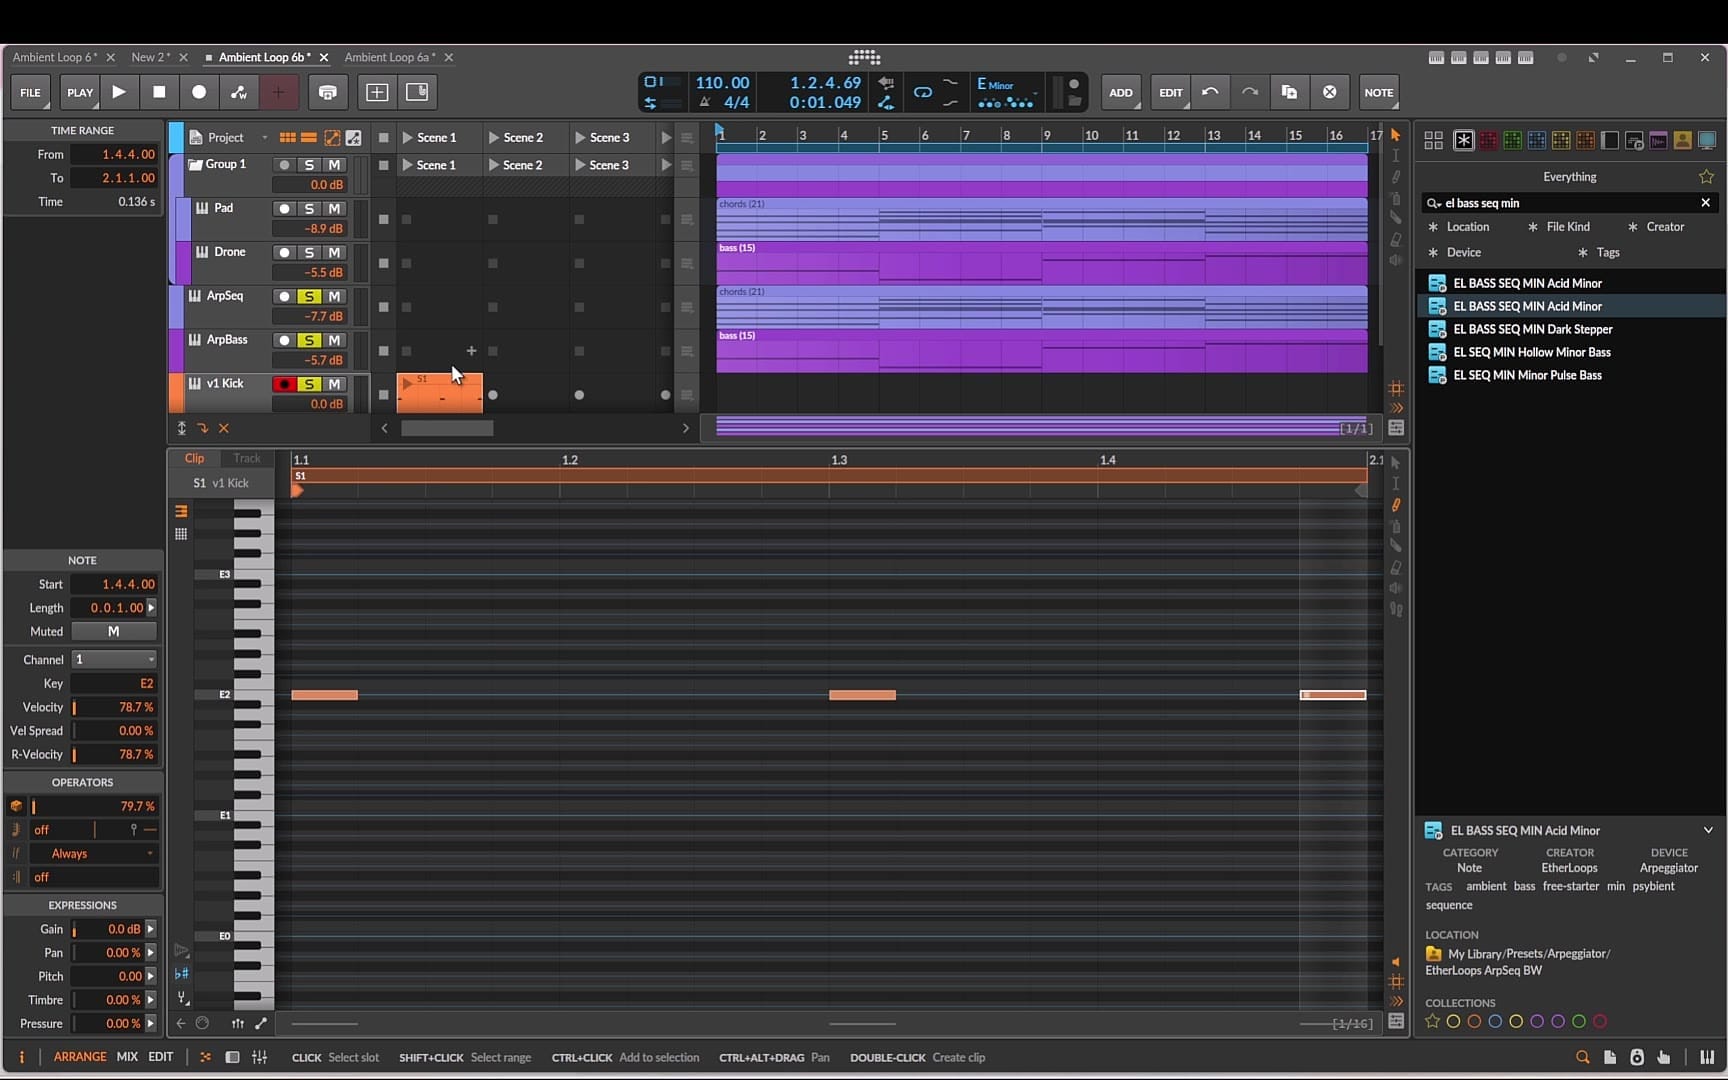
On the kick's FX chain, add a Compressor and adjust attack, release and threshold to give it more punch.
A top loop from Undertow
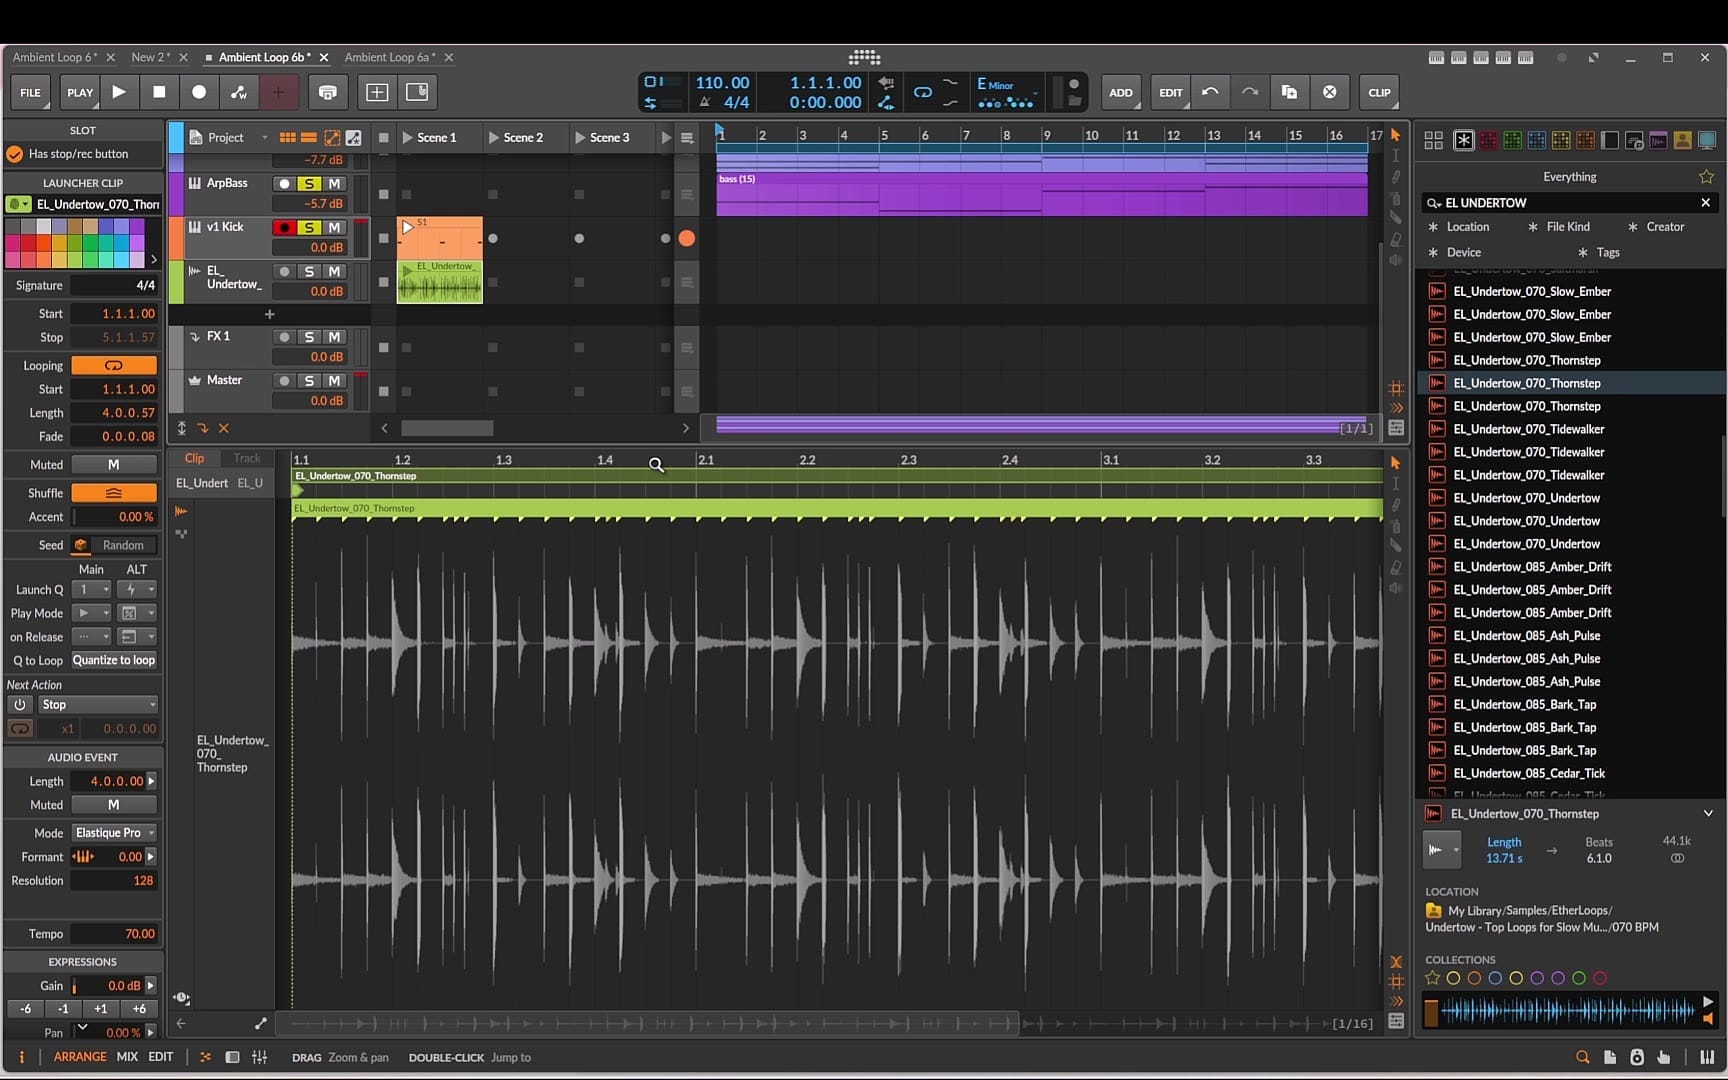
For the second rhythm layer I grabbed a top loop from Undertow and dropped it onto a new track. For more on making loops like this sit in a slow mix, see how to use drum loops in ambient electronica.
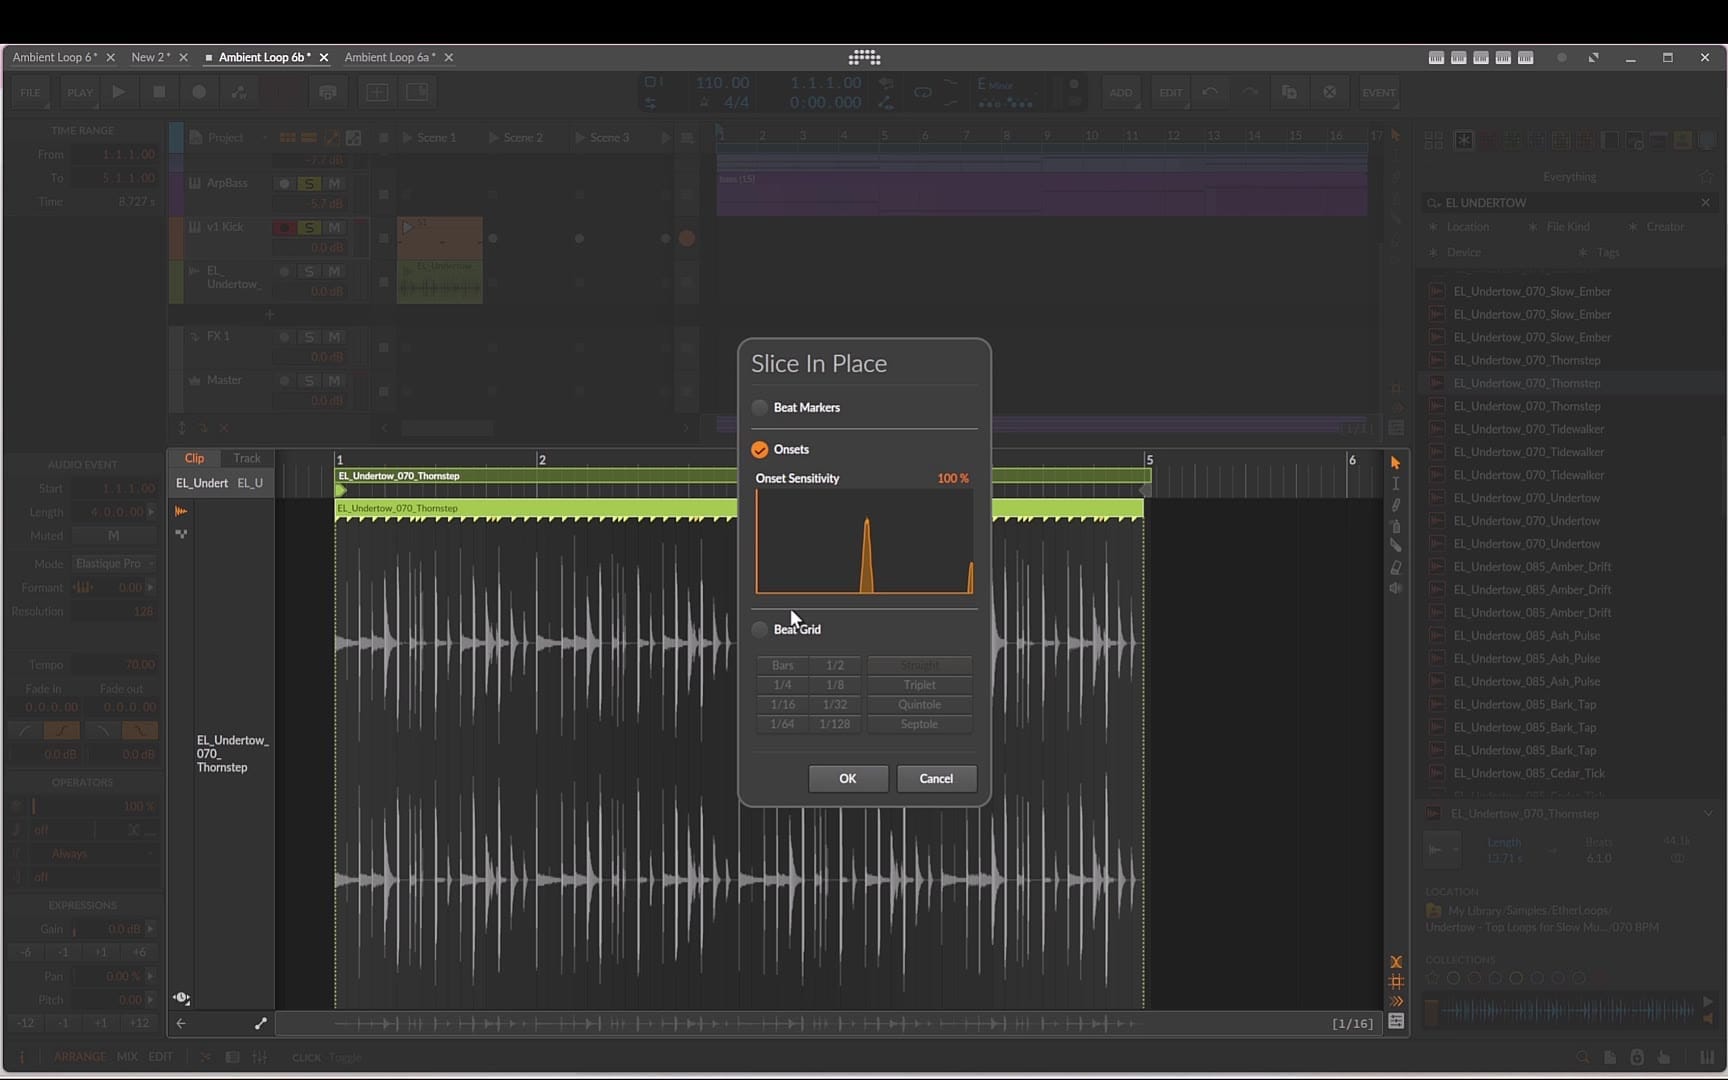
- Match the tempo. The loop name tells you it was made at 70 BPM. Open the audio event settings, pick a stretch mode like Elastique Pro, and set the clip tempo to its original 70 BPM so it syncs with the project.
- Shorten the clip to four bars and drag it into the Clip Launcher.
- Optional: slice it along the beat grid (eighth notes work well) and use only the parts you like.
- Add a compressor and an EQ-2 to cut the low end and lift the highs, then Raum again so it sits in the same space as the rest of the mix.
7. The sidechain that makes it breathe
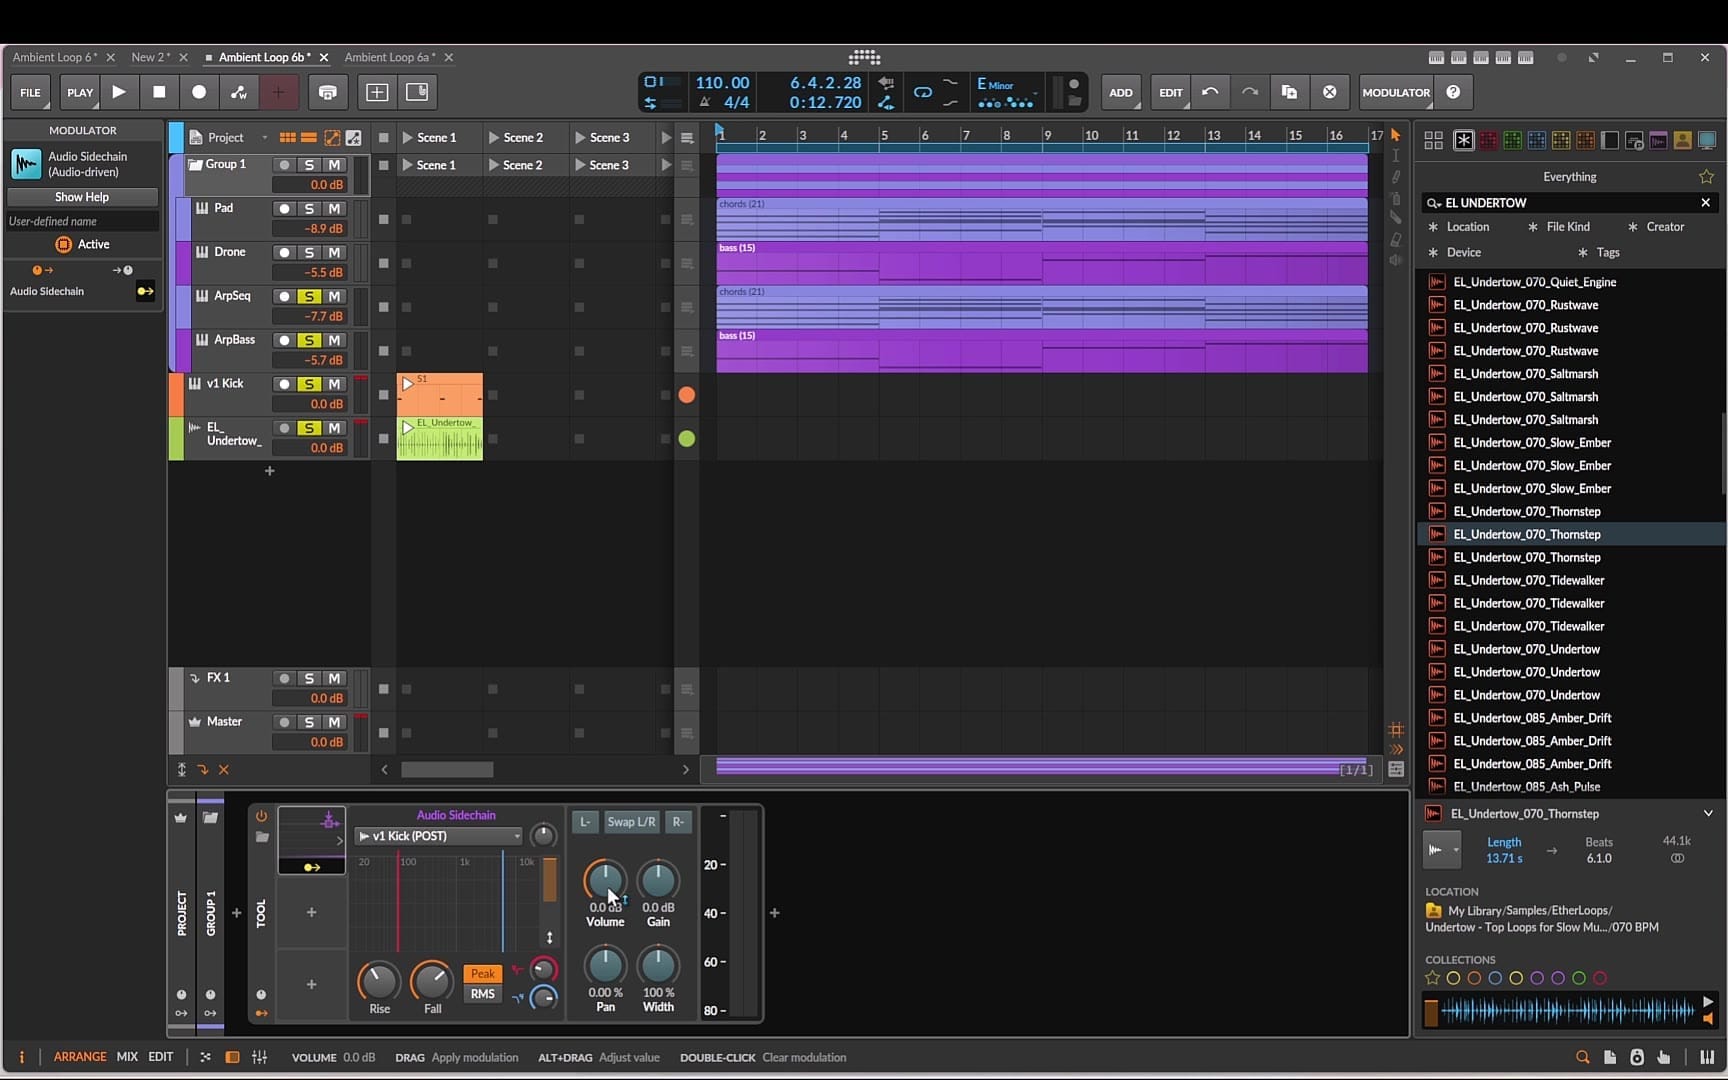
This is the part that turns a stack of layers into something that moves as one. The idea: every time the kick hits, the music ducks slightly and swells back in.
- Put all the musical tracks (pad, drone, both sequences) into one group.
- Add a Tool device to the group.
- Add a new modulator to it and choose Audio Sidechain. Set the input to the kick track.
- Click the little arrow to map the modulator, assign it to the Tool's volume knob, and pull the amount down a bit.
Because it sits on the group, one modulator handles every musical layer at once. No per-track sidechains to keep in sync.
Questions
Do I need Ether Harmony for this? No. Any chord progression and bass line in E minor will work. Ether Harmony just gets you there in a few clicks and lets you re-roll until something sounds right.
Why the Key Filter if the clips are already in key? The Arpeggiator can add octaves and passing steps depending on the preset. The Key Filter guarantees whatever comes out lands on E minor.
Why a Tool device on the group instead of a compressor? It's simpler and fully predictable: the sidechain only moves the volume, by exactly the amount you set, with no compressor character on top.
What to take from this
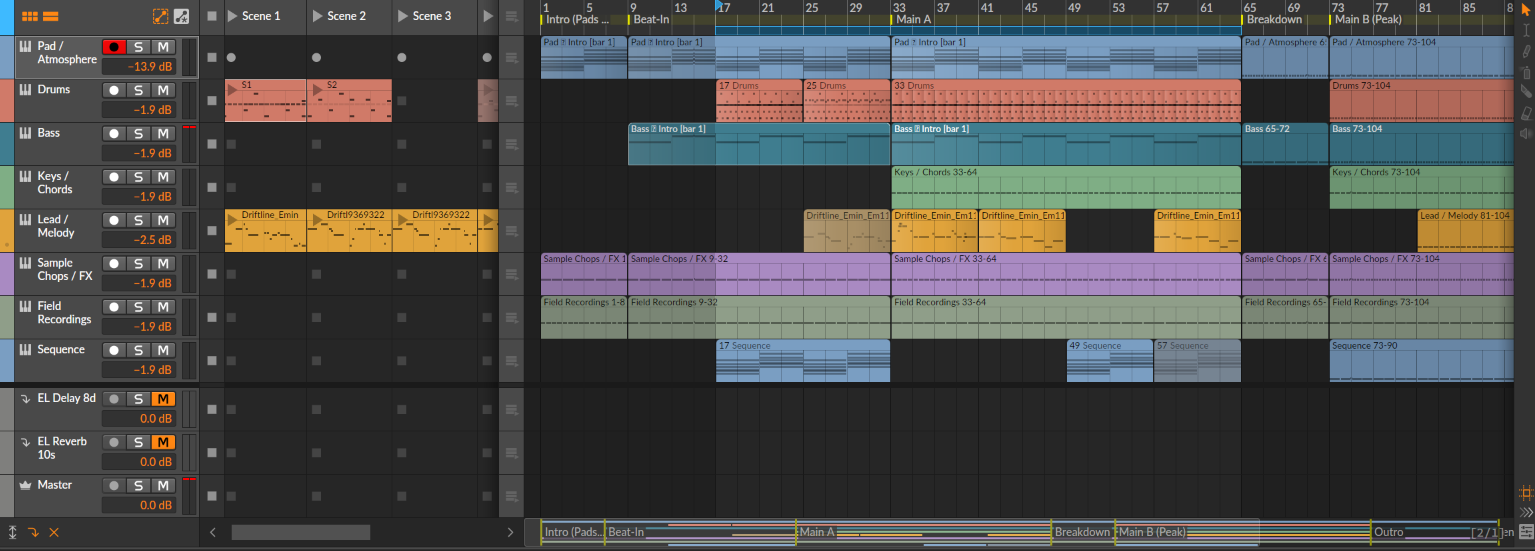
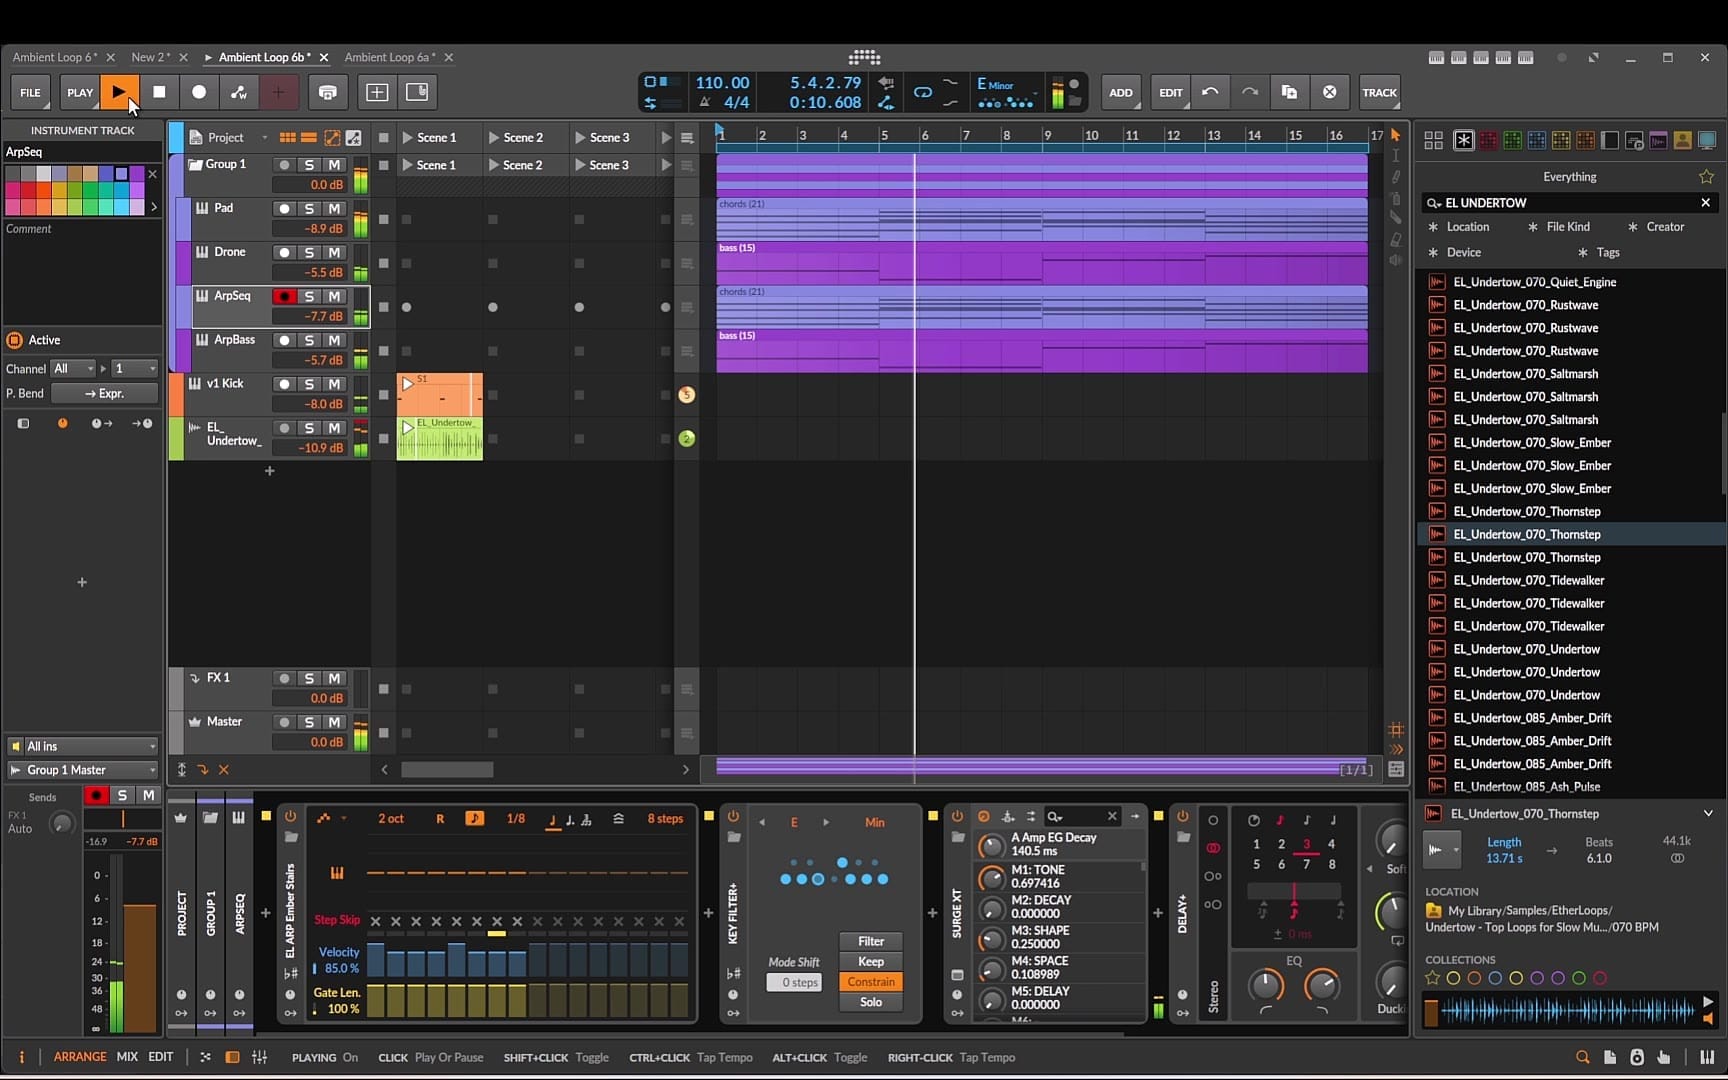
None of the individual parts here is complicated. The movement comes from small decisions stacked together: arpeggiators turning static clips into sequences, a kick note with less than 100% probability, and one sidechain on the whole group. Swap the presets, try different arp patterns, or let the loop grow into a full ambient track. When you're ready for that step, arrange the track before you write a single note, then generate chords, bass and pads for every section.
Keep reading
- How to Make an Ambient Track from Scratch with Surge XT (Free VST Tutorial)
- How to Build an Evolving Ambient Loop in Bitwig Studio Using Only Native Tools
- How I Built a 5-Minute Ambient Track in Bitwig Studio: Every Device Setting from AE1
- Generative Ambient Chords in Bitwig: Multi Note + Random Modulators
- How to Write an Ambient Melody Over Your Own Chords
Get the sounds and tools
- Ether Harmony: Track Blueprint Tool for Ambient & Chill Producers
- Engines: Surge XT Edition, 64 Ambient Presets
- Slow Forms: Surge XT Edition, 75 Ambient Presets
- Undertow: Top Loops for Slow Music
- ArpSeq BW Free Starter: 20 Bitwig Arpeggiator Presets (free)